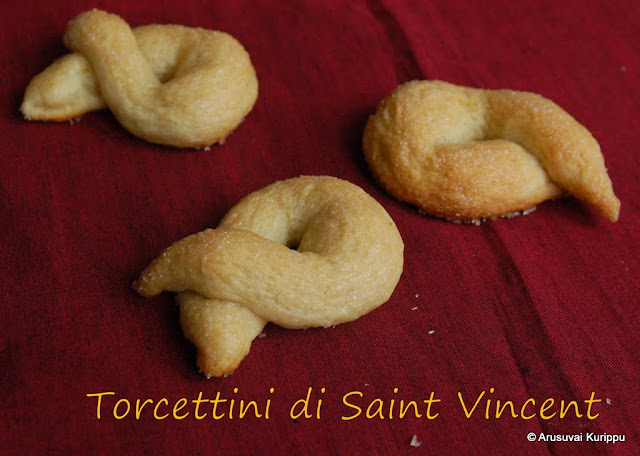
A pretzel is a type of baked bread product made from dough most commonly found in a unique knot-like shape. Pretzels originated in Europe. The traditional pretzel shape is a distinctive symmetrical looped form, with the ends of a long strip of dough intertwined then, twisted back into itself in a certain way. Now, pretzels of various shapes are available around the world. Pretzels are often seasoned and flavoured with various salts, sugars or other various seeds or nuts.
There are usually 2 types of Pretzels - hard and soft ones. Today's recipe is that of the Soft Pretzel. It is baked as part of the group 'We Knead to Bake'. We are baking a bread a month with the recipes from
Aparna and having a blast! Here is this month's
link
 Ingredients(Makes 12 Large Pretzels or 36 Pretzel sticks)
Flour 31/4 cup (425 gms)
Instant Yeast 2 1/4 tsp ( 7gm packet)
Sugar 3 tsp
Warm Milk 1 cup
Salt 1/2 tsp
For Soda Water
Water 6 cups
Baking Soda 2 tbsp
For Topping
Sugar 1/2 cup
Cinnamon 1 tsp
Melted Butter 4-6 tbsp (as needed)
Method of Preparation
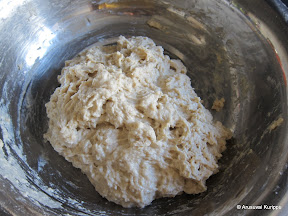
1. In a stand mixer (or a bowl) add flour, yeast, salt and sugar. You can just start with 3 and add 1/4 if needed. I started with 31/4 and so had to add an extra 3 tbsp of milk to make a soft dough.
2. Add milk and knead into a soft dough for about 8-10 min. If you are using Active Dry Yeast instead of Instant Yeast, remember to proof the yeast with the warm milk along with salt and sugar. Add the mix to the flour in the bowl.
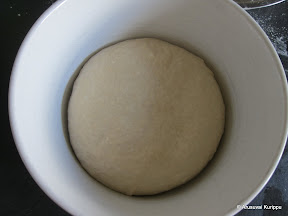
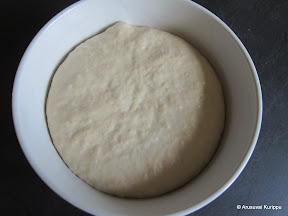
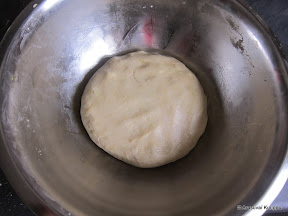
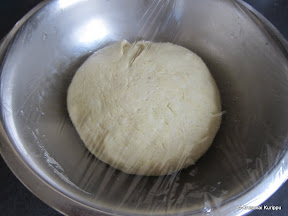
3. Form the dough into a ball and place in a large oiled bowl, turning to coat the dough with oil. Cover and allow the dough to rise for about 40 minutes or until doubled in size.
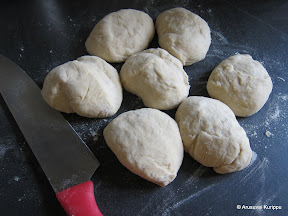
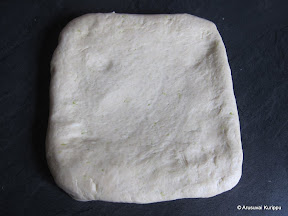
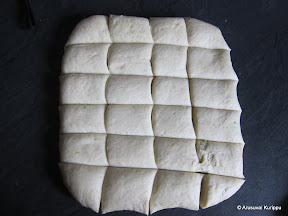
4. Deflate the dough and divide dough into 12 equal portions. If you are making 'pretzel' shaped ones, then you will get 12 pretzels. I made half in the Pretzel shape and rest in the form of Pretzel Sticks. For making sticks, divide each portion into 3 portions. So I got 6 pretzels and 18 sticks.
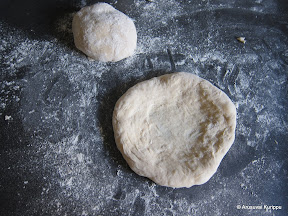
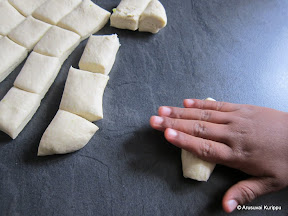
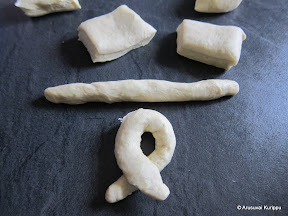
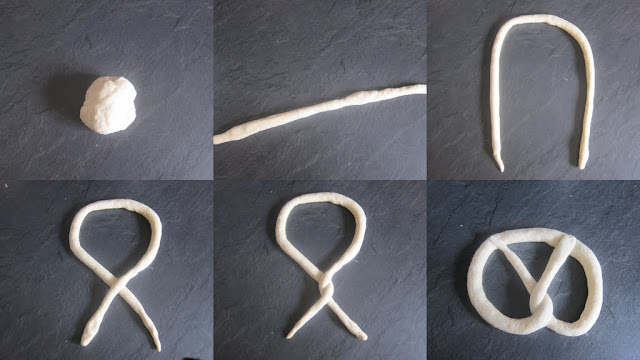
5. Work with one portion at a time and cover remaining dough to prevent it drying. Roll each portion into an 20-inch-long rope with tapered ends.
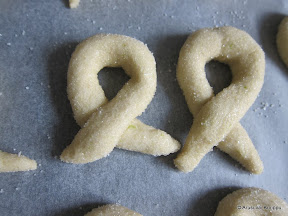
6. Cross one end of rope over the other to form a horse shoe shape.
7. Twist the rope at the base. Fold the ends over the circle and into a traditional pretzel shape, pinching gently to seal.
8. If you want to make the Pretzel sticks, just roll each of the smaller portion into logs.
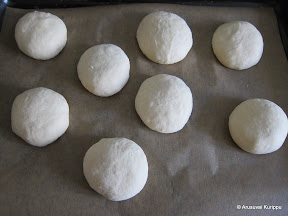
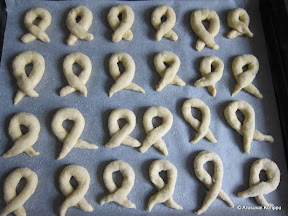
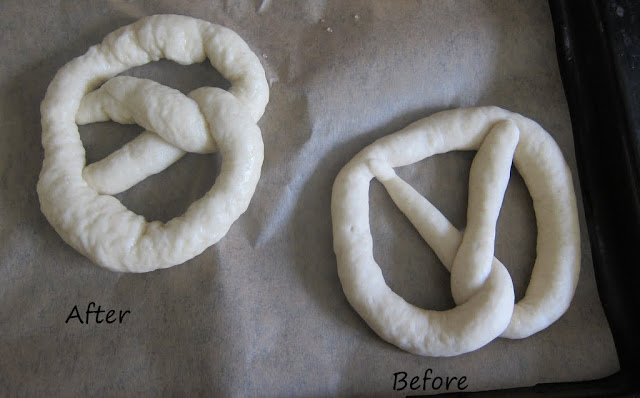
9. Place pretzels on a baking sheet lined with parchment paper. Cover and let rise 10 minutes (pretzels will rise only slightly).
10. Put the 6 cups of water and baking soda in a non-aluminium pan and bring to a boil. Turn down the heat and simmer.
11. Gently lower a pretzel into the simmering water. Cook on each side for about 15 seconds. The pretzel will swell/ puff up a bit.
12. Remove from the water with a slotted spoon, drain all the water and place it back on the baking sheet. Repeat with the remaining pretzels.
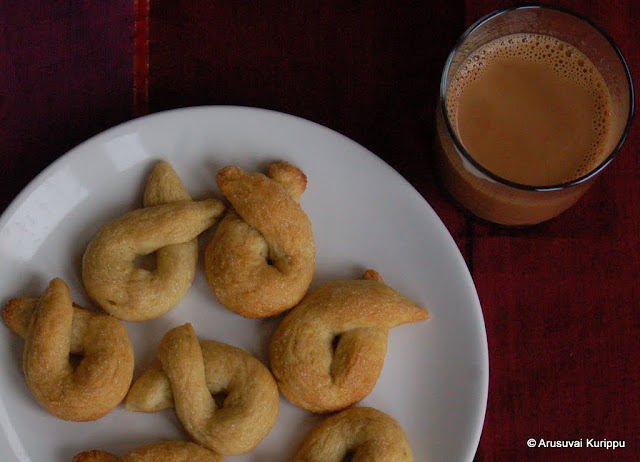
13. Preheat the oven to 220C. Bake for about 12 minutes or until pretzels are deep golden brown. Transfer to a wire rack to cool. If making Pretzel sticks, they were ready in 10 min.
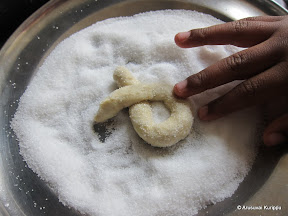
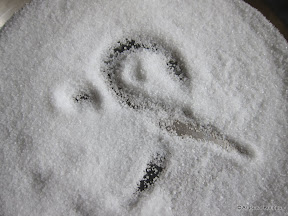
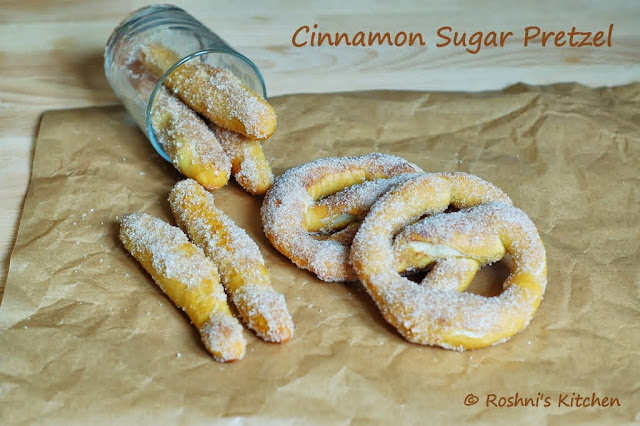
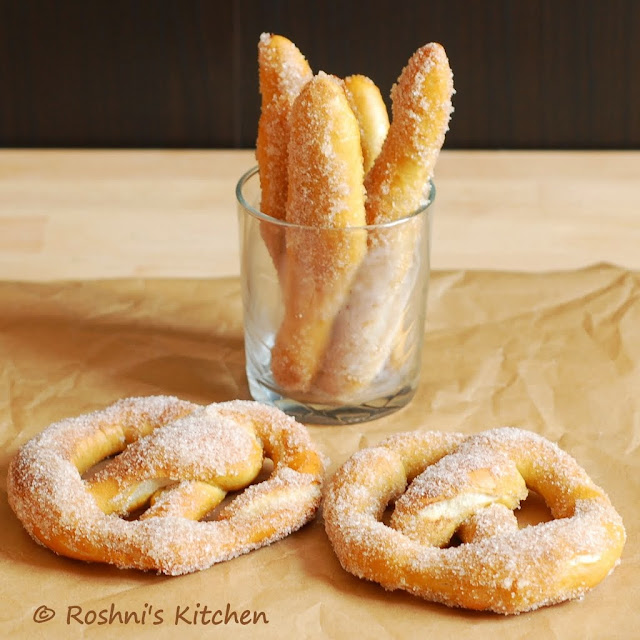
14. Melt the butter and keep ready. Mix the sugar and cinnamon and keep ready.
15. As soon as it comes out of the oven, dip in the butter and then dip in the sugar/cinnamon mix.
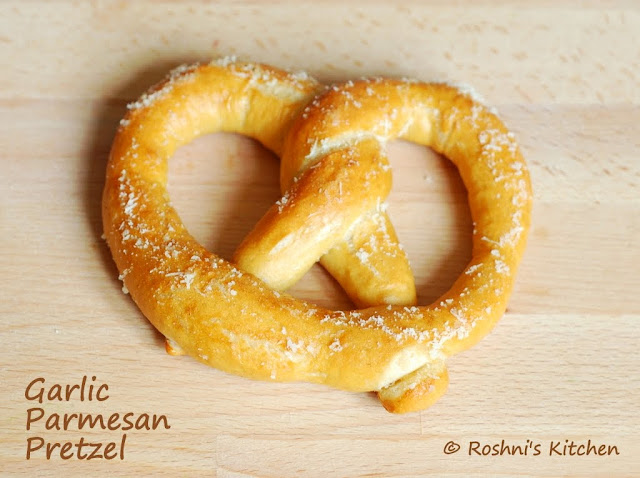
I also made some of the Pretzels savoury with Garlic Parmesan Flavour. Add Garlic powder to the melted butter. Dip the warm pretzels in the butter mix and then in Grated Parmesan.