Halloween is just a few days away. When I lived in India, I was blissfully unaware of Halloween. That is not the case any more. I see more and more Indians having little fun for Halloween. Having lived in US for so long, it has kind of become part of festivals we celebrate. Here in UK the halloween is not as popular, but it is gaining popularity.
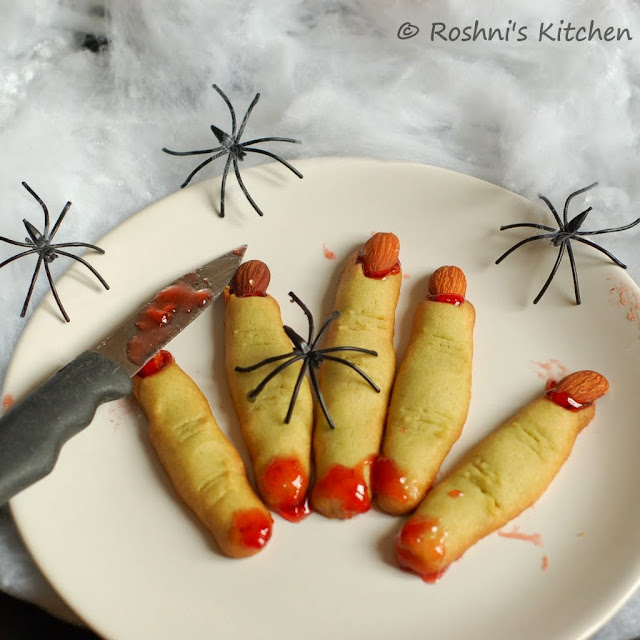
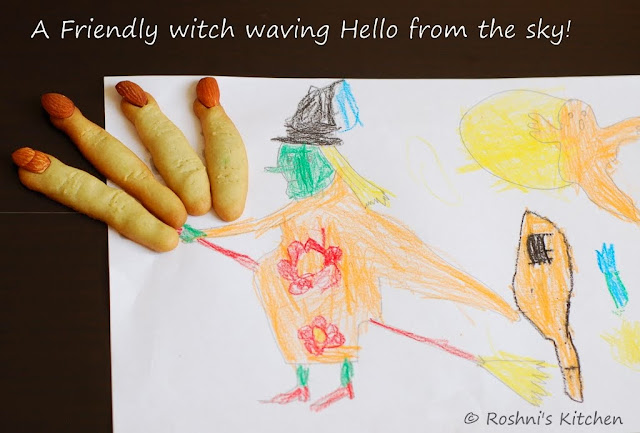
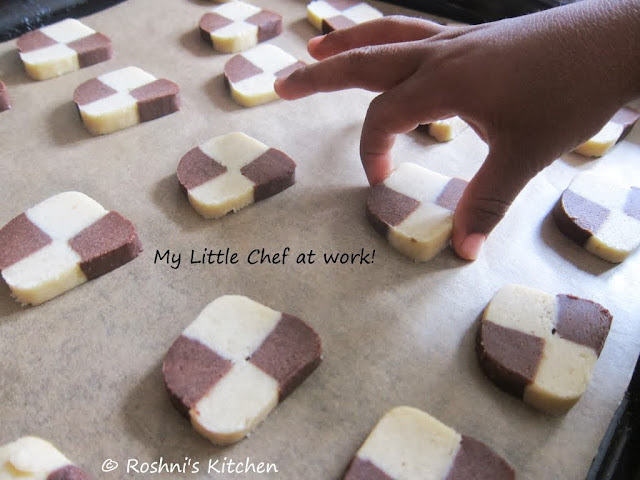
For me, as with most festivals the key is to make it a grand event for the kids. The holidays started this week (Half term). So my little one and I had a fun time baking these goodies. We did a little colouring and all this morning. Yes, it is the friendly witch that you see below.
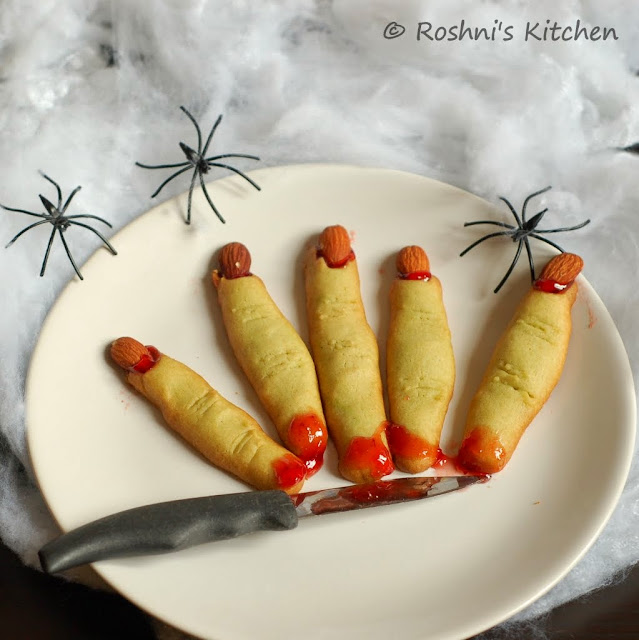
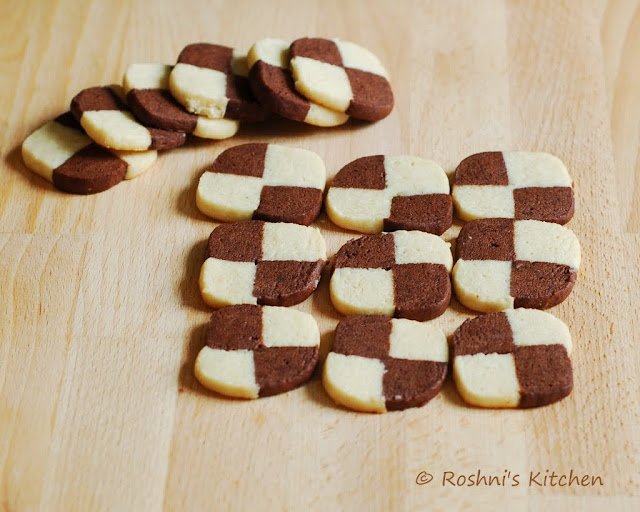
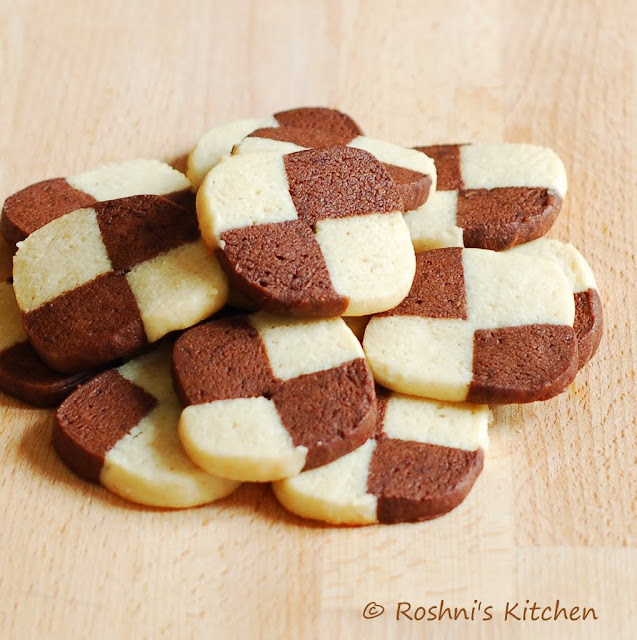
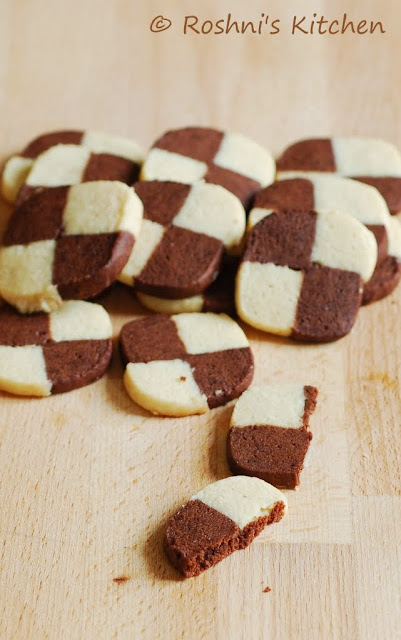
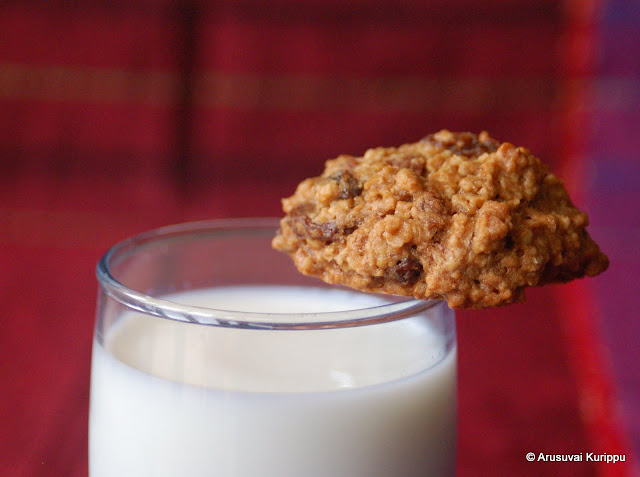
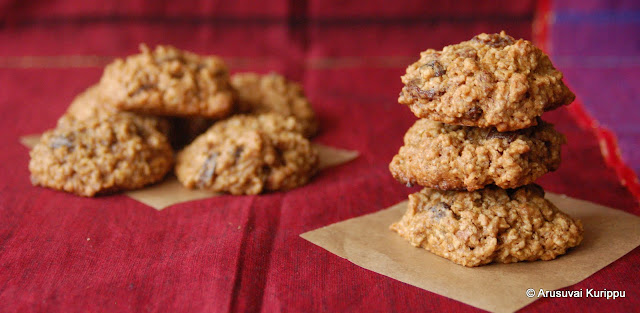
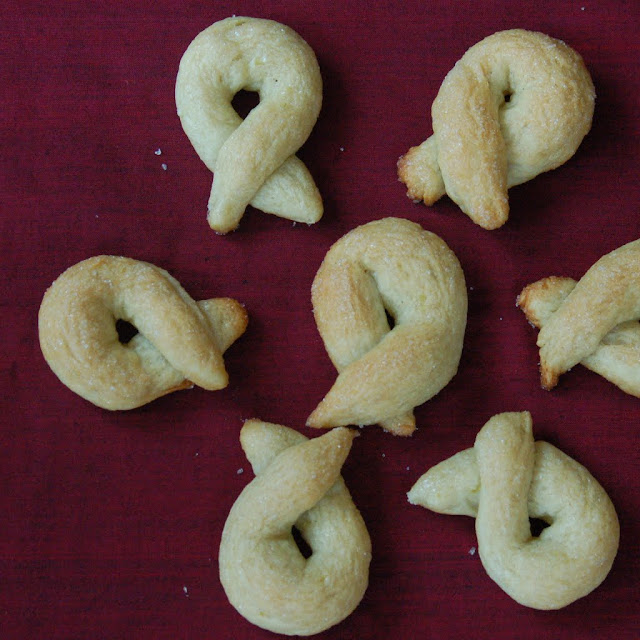
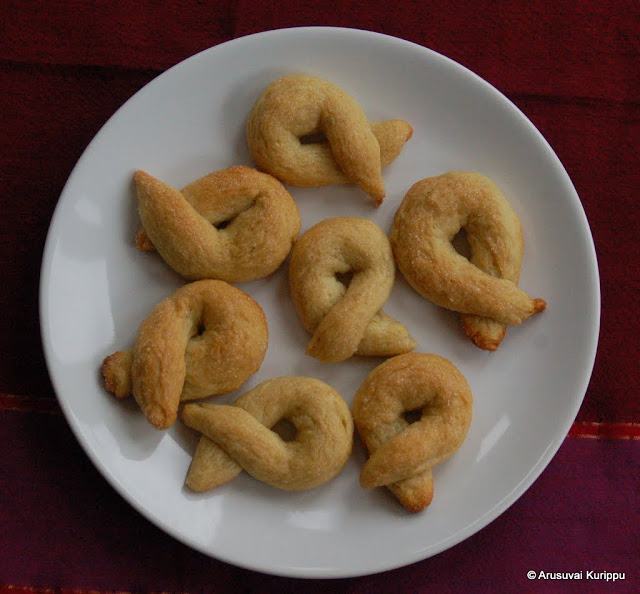
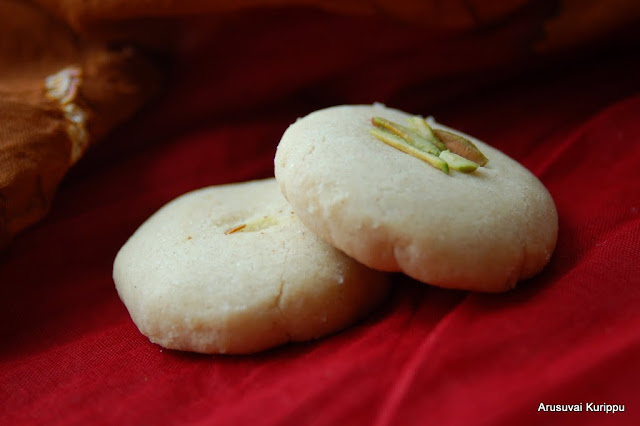
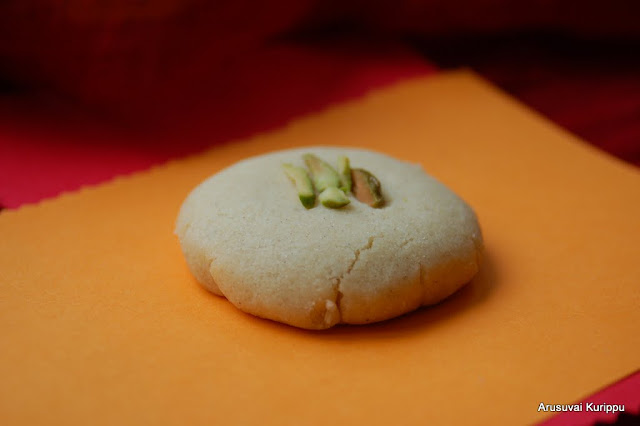
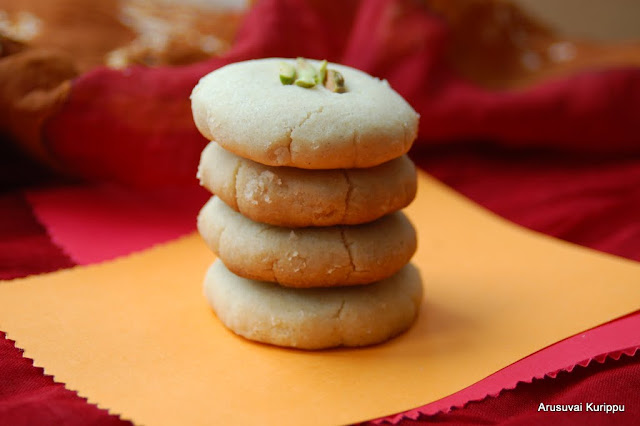
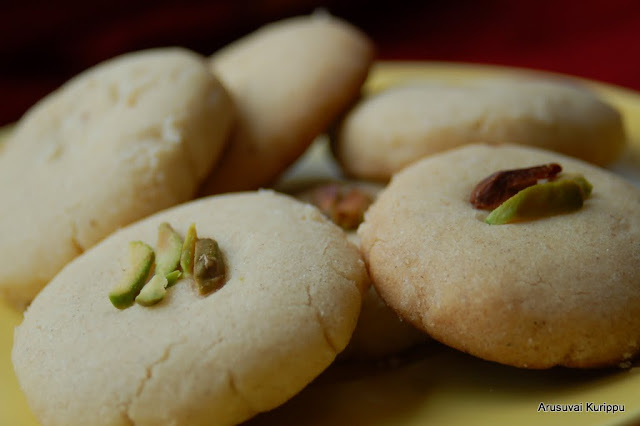
Spooky Fingers not your cup of tea? No worries. Cause this recipe is a keeper. Just make the dough and shape them however you like. To quote my son - They are just scrummy! (scrumptious and yummy).
Check out other Halloween Goodies
here
Adapted from
here
Ingredients (Makes 60 fingers)
Butter (at room temperature) 225 gms
Icing Sugar 125 gms
Large Egg 1
Vanilla Extract 1 tsp (or use almond extract instead)
All Purpose Flour (Plain Flour, Maida) 350 gms
Baking Powder 1 tsp
Salt 1 tsp
Almonds 60
Strawberry Jam as required to paint red
Green Food Colour a little (optional)
Method of Preparation
1. Take the butter in a bowl. Using a stand mixer or hand mixer, beat well.
2. Add the egg, sugar and vanilla extract. Beat till well combined.
3. In a separate bowl, mix the flour, baking powder and salt.
4. Add this little at a time to the butter mix.
5. Beat till well combined.
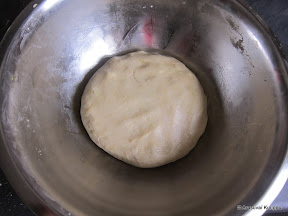
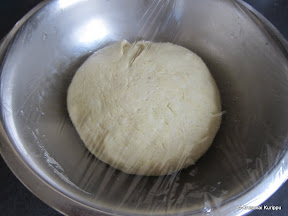
6. Cover and refrigerate for atleast 30 min.
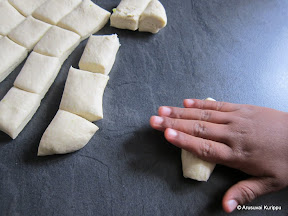
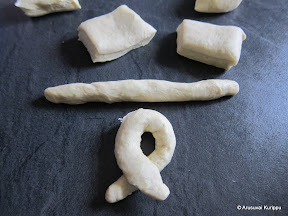
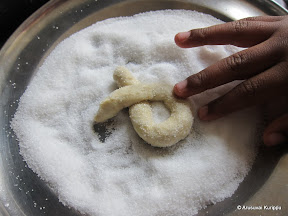
7. Take out small portion of the dough. Pinch about 10-12 gms of dough (a very small ball).
8. Make a ball. Roll it on the counter to make a string. Press with your fingers to create the knuckles. Add one almond at the tip as nail. With a sharp knife add a few cuts.
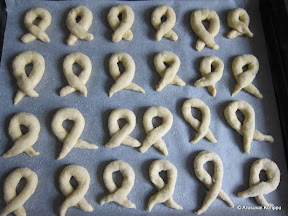
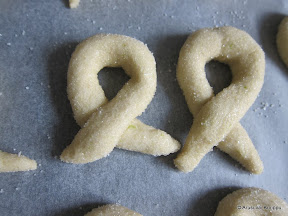
9. Arrange on a parchment lined baking tray.
10. Preheat oven to 160C.
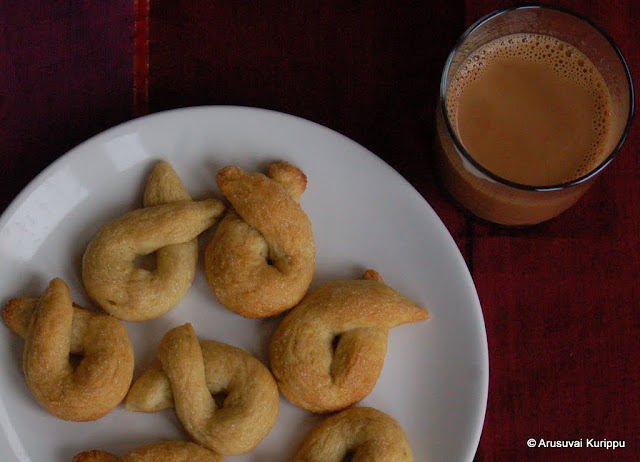
11. Bake the cookies for about 18-20 min till nicely baked.
12. When it cools a little, take the almond out, add a little (a drop or 2) of jam. Press the almond back. Though this is step is optional, I found that if I do not do it, the almond falls off.
Cool and store in an airtight container. If you want to make in batches, you can store this dough in the freezer and use as required. Would recommend cutting into smaller portions and freezing. That way you can just pull out one portion and cool in fridge overnight and bake the next day.