Sunday, 29 April 2012

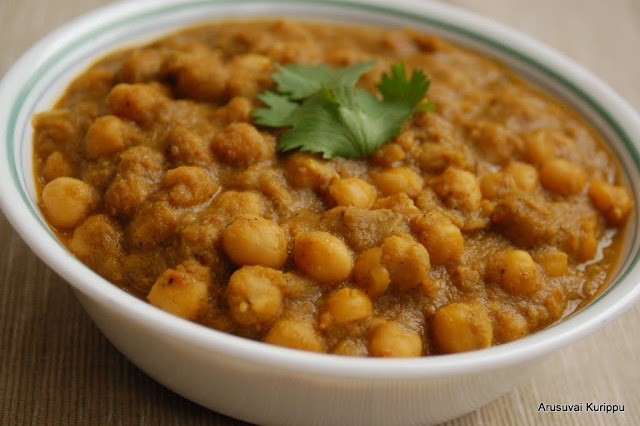
Coriander Chole

Try as I might my Chole never comes out good. When I saw this recipe in Radhika's site, I decided to give it a shot as most dishes I have tried from her site have been great successes. If you are not too keen on the coriander part of it, you can skip it and still follow this recipe to make perfect Chole. Loved it.

Until a few years ago, I never knew that there are people who 'HATE' coriander. When I say hate, I really mean it. Its not that they do not like it, they hate it. I was very surprised. If I am not sure about the tastes of my guests, I usually ask them before hand. But till I knew about this hate thing, it would never have occurred to me not to garnish any roti side with coriander leaves. Are there any Coriander haters/lovers among you??


Ingredients

Channa 1.5 cups
Onion 2
Tomato 2
Ginger 1 inch piece
Garlic 2 pods
Star Anise 2
Clove 2
Cinnamon 1 inch stick
Chilli Powder 1/2 tsp
Turmeric 1/2 tsp
Coriander Powder 1 tsp
Cumin 1/2 tsp
Channa Masala 2 tsp
Coriander Leaves 1 bunch

Method of Preparation

1. Heat oil in a pan. Add the sliced onions and saute a little.

2. Add the ginger, garlic, Star Anise, Clove, Cinnamon and saute till the onion starts to brown.

3. Chop the tomatoes and add to this. Cook till tomatoes are done.

4. Cool and grind into a paste along with the coriander leaves.

5. Add back to the pot. Add the chilli powder, turmeric, cumin, coriander powder and channa masala powder. Mix well and cook for a few minutes.

6. Cook the channa. Drain and add to the pot. You can use the water that was used for cooking Channa to adjust the consistency of the dish.

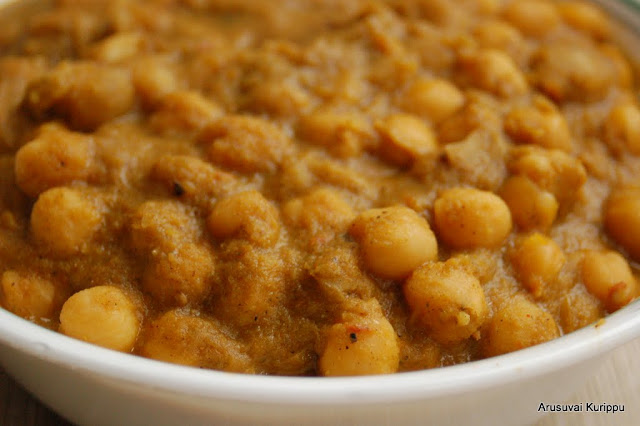
Serve with rice or roti. Mine did not get the green colour that I was looking for. Tasty nevertheless.
Friday, 27 April 2012

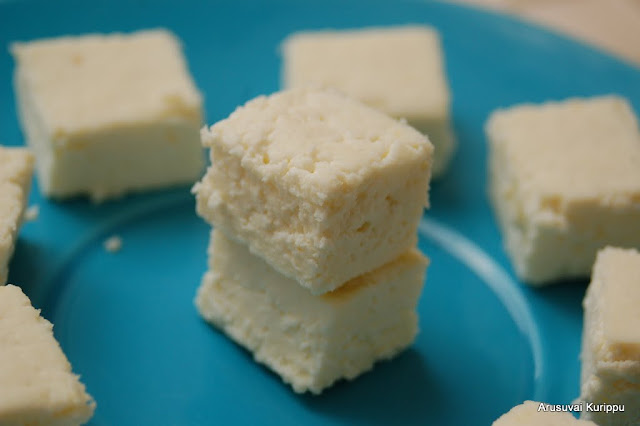
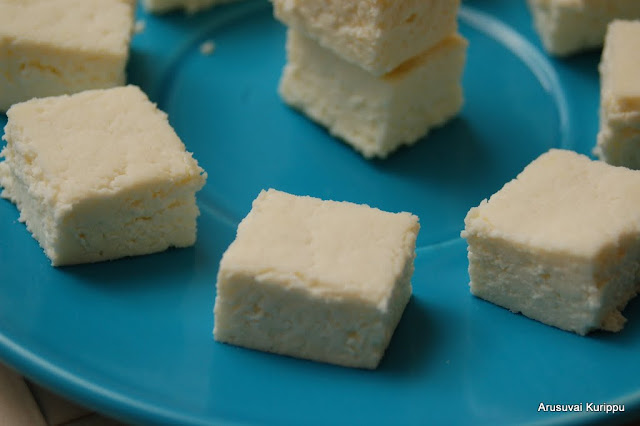
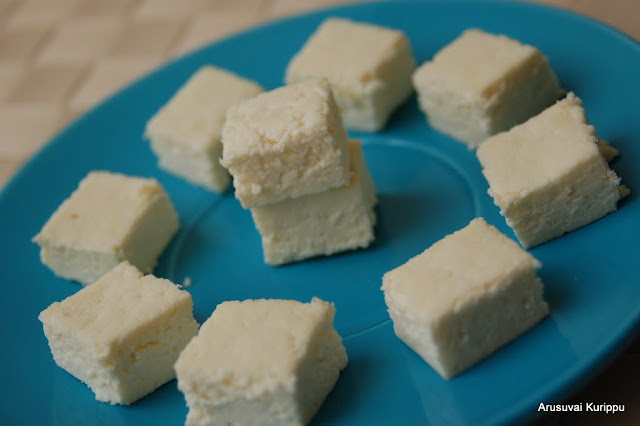
Homemade Paneer

Blogging does have a lot of advantages. I end up trying some recipes that are super simple, but those which I have never tried before. Shrikhand was one such. When I made Paneer, I felt so happy. It is so simple to make, yet can you believe it - This is my first attempt.


It tasted really good. Now I do not have to wait for my trip to Indian store to get some paneer. Paneer is just a few hours away.

Ingredients (Makes 2 cups of Paneer)

Milk 9 cups
Lime juice 1/4 cup (1.5 lime)
Water 1/2 cup


Method of Preparation

1. In a thick bottomed pot heat the milk.

2. When it comes to a boil, simmer. Mix the lime juice and water. Gently add it to the simmering milk.

3. Stir for a minute or 2 more to let the milk curdle.

4. Place a sieve over another pot. Place a muslin cloth over it. Pour the curdled milk over it.

5. Now run this under cold water. This helps to remove heat and you will be able to squeeze water easily.

6. Squeeze as much water as possible by wrapping the muslin cloth into a bundle.

If you need crumbled paneer, then you can stop at this step and use the paneer.

7. Open and pat the paneer into a rectangle. Close the cloth again.

8. Place it under a heavy vessel for 2 hours. Cut and use as desired.

Thursday, 26 April 2012

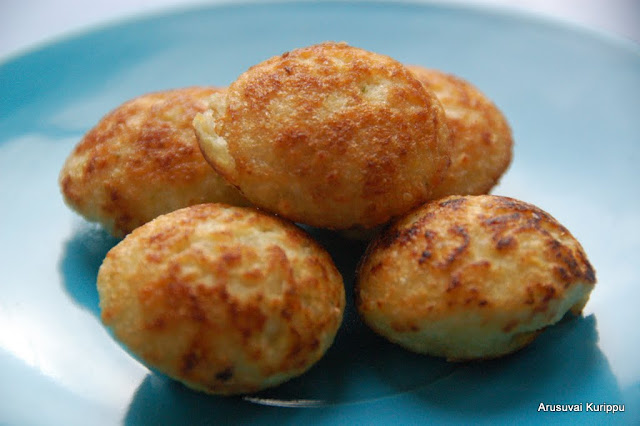
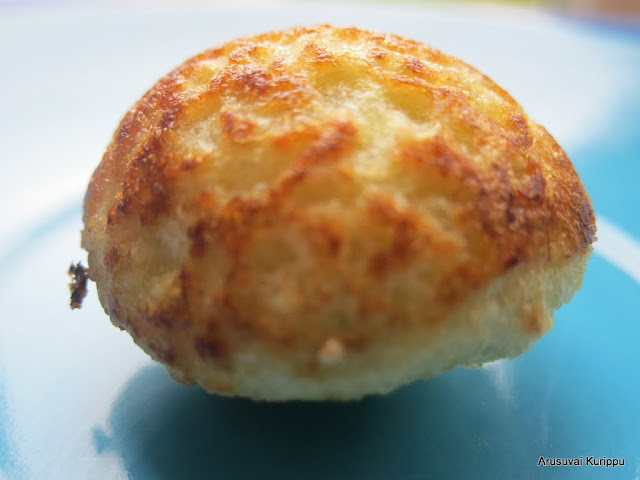
Adai Paniyaram

Does the name interest you?? It was an interesting experiment and it turned out to be very tasty. I made some adai batter and instead of making it into dosas, I made paniyarams with it. It was nice and crunchy. We all loved it. It is a great way to make your little one eat a protein rich breakfast. Sure to be a hit with kids.

I am repeating the steps for making adai batter as well here. The batter should be thicker than adai dosai batter.


Ingredients

Boiled Rice (Boiled Rice used for making Idli/Dosa) 1/2 cup
Raw Rice 1/2 cup
Whole peeled Urad dal 1/2 cup
Toor dal 1/2 cup
Channa dal 1/4 cup

Coconut 1/2 cup
onion 1 small cut into small pieces
Red chillies 6
Green chillies 2
curry leaves few
coriander leaves a small bunch (optional)
hing

Oil and Salt to taste

Method of Preparation

1. Soak the rice and the dals together for about 3 hours.

2. Drain and Grind into a course paste along with green chillies, red chillies, coriander leaves and curry leaves adding enough water.

3. Mix with coconut, onion, hing and salt.  Adjust water as needed.

4. Heat the paniyaram pan. Add a little oil if desired. Spoon in the batter to the pan.

5. Once one side is roasted and cooked well, turn and cook the other side.

Super delicious snack/breakfast is ready to be served.


Sending this to the Toddler Healthy Breakfast/Dinner (Nithu's event) hosted by me this month.


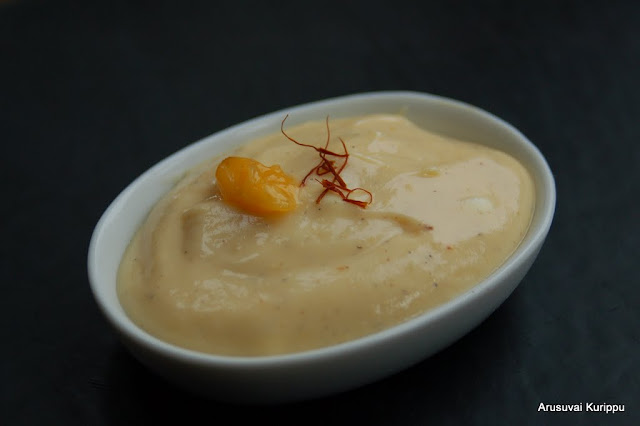
Aamrakhand / Mango Shrikhand

I have this huge addiction for Shrikhand. My mom was born and brought up in Ahmedabad, Gujarat. She moved to Kerala after her marriage with my dad. We used to go to Ahmedabad for our summer holidays as my grandparents and my dad's brother and sister used to live there.

I really loved eating the Shrikhand when I was there. Another thing I relish is the Aamras (Mango Pulp) and warm rotis. There is something different about the Pulp that people make there. Not sure what they do.

One of my friends knowing my love for Shrikhand made us these Fruit and Nut Tarts. I completely forgot to check her recipe before making these. Next time I have to try her recipe. It was an out of the world dessert.

Anyways, with me getting my first box of mangoes from the Indian Store last week, I knew what I was making. I did not have Greek Yoghurt. Just had some low fat yoghurt in the fridge. That did not deter me from making it. I also did not get a lot of time to make the hung curd. I did this during my son's 2 hour afternoon nap. So it was not as thick as I would have liked.


Ingredients

Curd/Yougurt 500 gm (Made about 1.5 cups of Hung curd)
Sugar 1/2 cup
Mango 1 ( around 1 cup of pulp)
Cardamom powder 1/2 tsp
Saffron few stands
1 tbsp milk to mix saffron

Method of Preparation

1. Make hung curd from the curd by hanging it from a muslin cloth to remove excess water.

2. Add the rest of the ingredients to mixie to make a pulp.

3. Add to curd and mix well.

4. Refrigerate and serve.

After I was done taking the photos, I just sat down and ate all of the Shrikhand in the bowl that I used for taking photo. Then of course with rotis at dinner time...

Pure Divine Indulgence!!!!


Linking this to Radhika's Chilled Delights Event

Wednesday, 25 April 2012

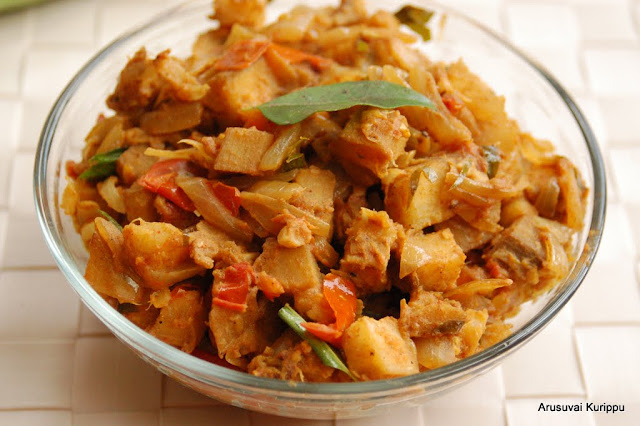
Chettinad Vazhakka Curry

I was looking for a way of making a side dish for Roti with Vazhakka. I wanted to do something different from what I usually make with Vazhakka (Plantain). A quick search on my blogging friends' site brought me to this recipe in Radhika's site. Thank you Radhika for the recipe. We all loved it. I have not made many changes to the recipe

Now off to the recipe


Ingredients

Vazhakka (Plantain) 4
Onion 2
Tomato 2
Ginger 1 inch piece finely chopped
Garlic 2 pods finely chopped
Chilli Powder 1 tsp
Turmeric powder 1/2 tsp
Coriander Powder 2 tsp
Cumin Powder 1 tsp
Mustard 1/2 tsp
Urad dal 1/2 tsp
Curry leaves 3 sprigs

Oil and Salt to taste

Method of Preparation


1. Cut the vazhakka into cubes and wash properly. You can keep it soaked in water with a little yogurt to remove the stain (kara)

2. Heat oil in a pan. Add the mustard. When it sputters, add the urad dal, curry leaves.

3. Add the onions, ginger and  garlic and saute well.

4. When it starts to brown, add the chopped tomato and cook till it is done.

5. Add the Chilli Powder, Turmeric powder, Coriander Powder and Cumin Powder. Cook for a minute.

6. Add the vazhakka and sprinkle a little water if needed. Add salt and stir well.

7. Cook till the vazhakka is cooked. Make sure you do not over cook.

Serve with roti or rice.


Linking this to Vegetarian Side Dishes Priya's event hosted by Vardhini