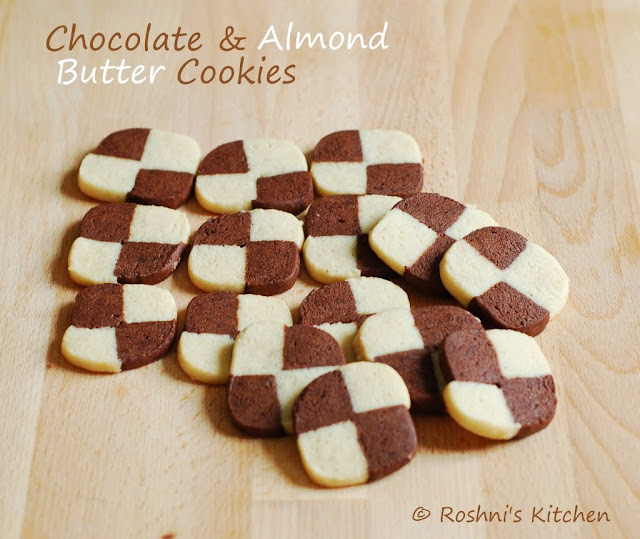
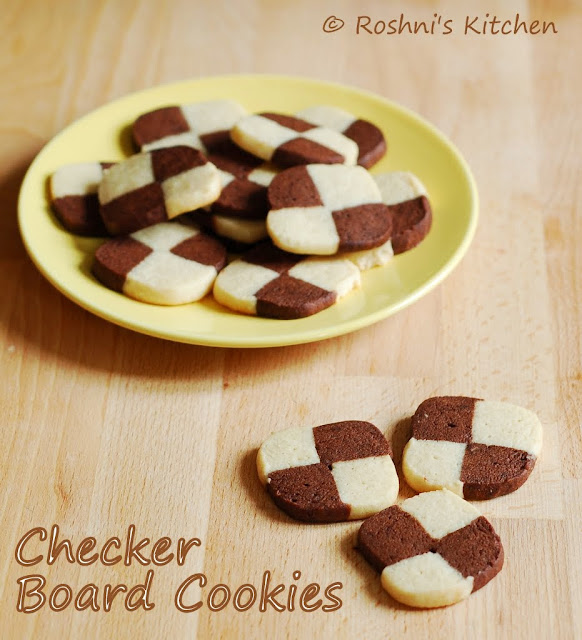
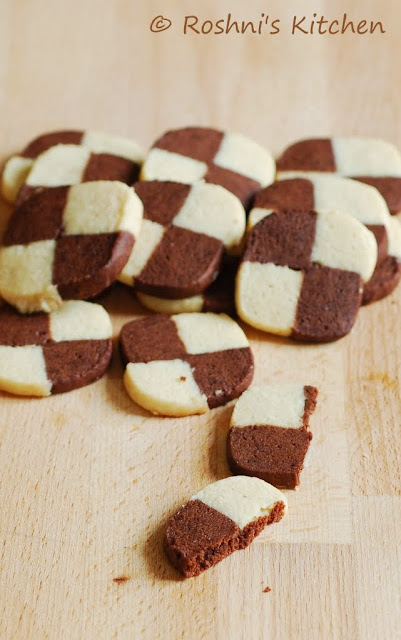
Checker Board Cookies are so pretty to look at. The more the squares, the better they look, don't they? There are some versions with a dark or white wrap on the outside. I have been dreaming about baking them for ages. Was not bold enough to try a complicated design. Just started off with a 2*2 square. All in good times :-) This is a beginner version of the cookie and is very very easy to make.
Like I told you before, Avant Garde Cookies have completed an year of cooking together and we are celebrating this month with a lot of specials. Week 1 was Cakes. Check out all our cakes -
Anu - Jamaican Banana Layer Cake
Radhika - Vanilla Sponge Cake with Chocolate frosting
Jayanthi - Tres Leches
Kavi - Oreo Cream Cake
Me - Dinosaur Cake (Vanilla Sponge with Buttercream Frosting)
Ingredients
Butter 113gms (1/2 cup)
Caster Sugar 100gms (1/2 cup)
Yogurt 1/4 cup
Vanilla Extract 1 tsp
Baking Powder 1/4 tsp
Baking Soda a pinch
Salt a pinch
All Purpose Flour 195gms (1.5 cups)
Almond Powder 2 tbsp
Cocoa Powder 2 tbsp
Method of Preparation
1. Beat the butter and sugar till light and fluffy.
2. Add the yogurt, vanilla extract, baking powder, baking soda and salt. Mix well.
3. Add the flour and mix till every thing is combined together. The dough will be very soft at this stage.
4. Split the dough into 2 sections.
5. Add Almond Powder to one portion and mix till combined.
6. Add the Cocoa Powder to the other portion and mix till combined.
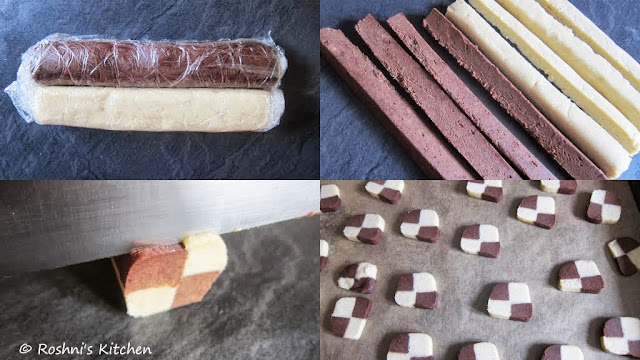
7. Shape both into logs and wrap in cling film. Place in freezer for 30-45 min till it sets a little. The square of the log should be the size you want your final cookies to be.
8. Cut the logs into 4 portions.
9. Arrange the strips - chocolate and almond at base. and another almond and chocolate on top. Press them gently to make it stick.
10. Wrap again and place in freezer for another 30 minutes.
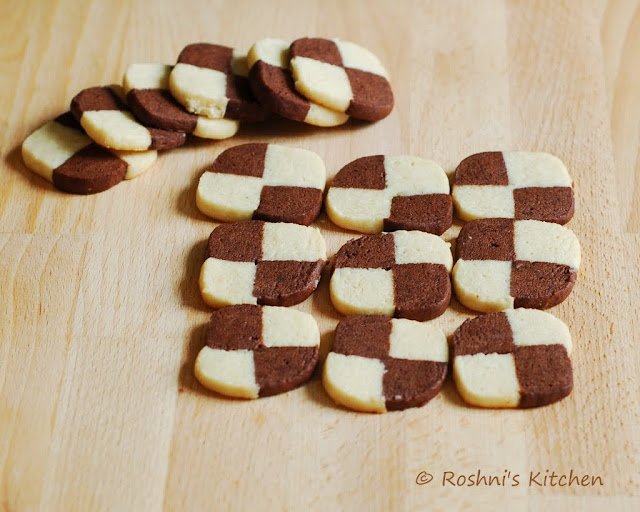
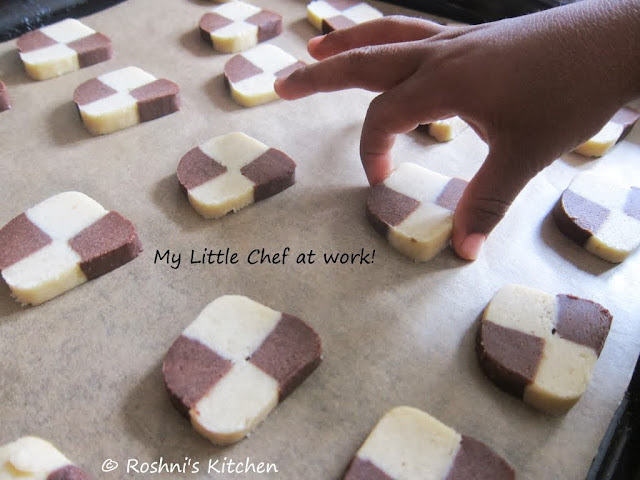
11. Slice into thin slices and place on a parchment lined baking sheet. I got about 4 dozen miniatures out of this. So I used 2 sheets.
12. Preheat the oven to 175 C.
13. Bake them for about 8-9 min. They will be very soft when they are done. It will become crunchy when they cool. So do not over bake.
Notes :
1. The bake time depends on how thick or thin you cut the cookies.
2. Make sure that the white portion does not change colour. If it browns, you have baked too long.
3. The cookies will not expand in size much, so you can arrange them near each other. Just leave a little space.
perfectly baked cookies akka
ReplyDeleteperfectly made and yummy cookies dear...
ReplyDeleteBeautiful cookies Rosh. I cant take my eyes off them and the finish is so perfect
ReplyDeleteScrumptious and prefect looking cuties...Beautifully done.
ReplyDeletelovely pictorial!! And I so badly want to make this! Looks fancy! :)
ReplyDeleteperfectly done..looks so beautiful and a well explained post!
ReplyDeletewow lovely cookies...
ReplyDeletelovely !
ReplyDeleteDelicious cookies, looks yum!
ReplyDeleteYou are right Rosh. They are so pretty to look at and such an awesome job as well. I have yet to try my hand at these.
ReplyDeleteThats a lovely and easy recipe...wonderful
ReplyDelete