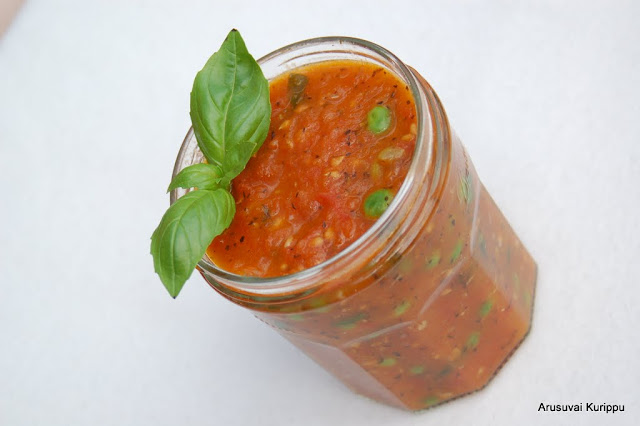
Methi Malai Mutter is the most popular dish in my blog. We are big fans of Methi in our house. So I wanted to try a new recipe with Methi.
I will make a dish with Methi every week. But I can't for 2 reasons. One, I do not get it unless I go to the Indian store :-) Other reason is the time required to pluck the leaves from the stem. I hate that step. I was working on my bunches today and half way thru I realized I had been putting the stem in my bowl and plucked leaves on the kitchen counter. I was less sad about loosing the plucked leaves and more because I have to clean my bowl of all the stems...
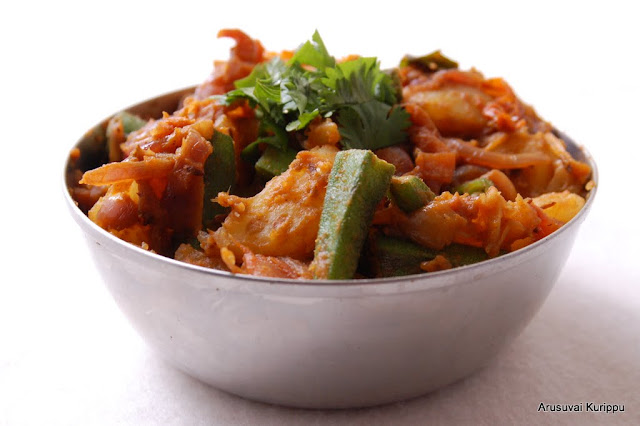
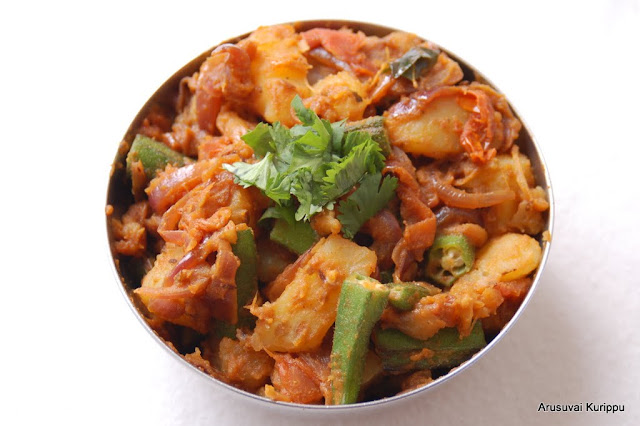
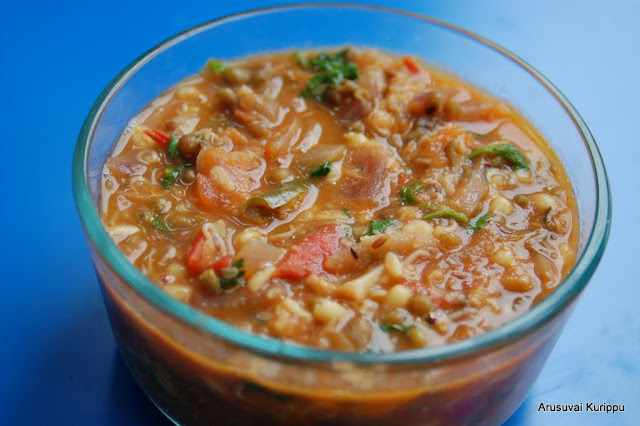
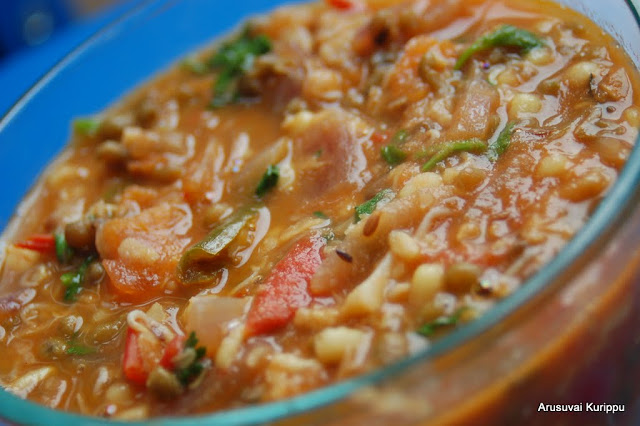
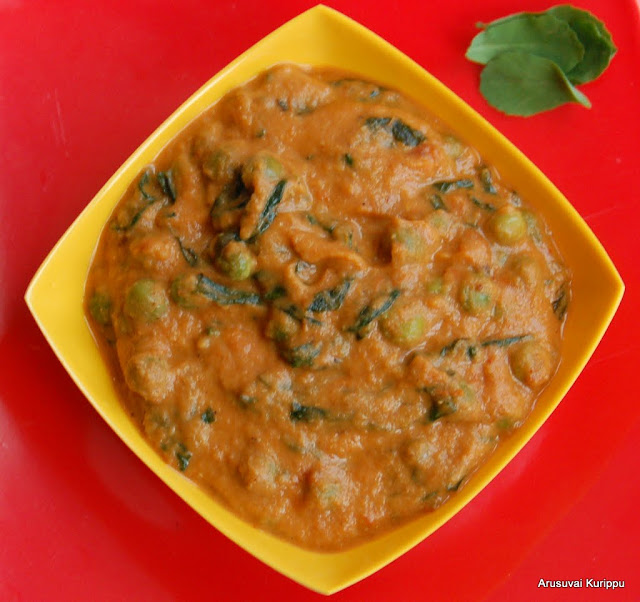
Anyways, all that was worth it as we enjoyed an amazing dish today. We enjoyed it with some Jeera Pulao.
Ingredients
Onion 3
Garlic 5 pods
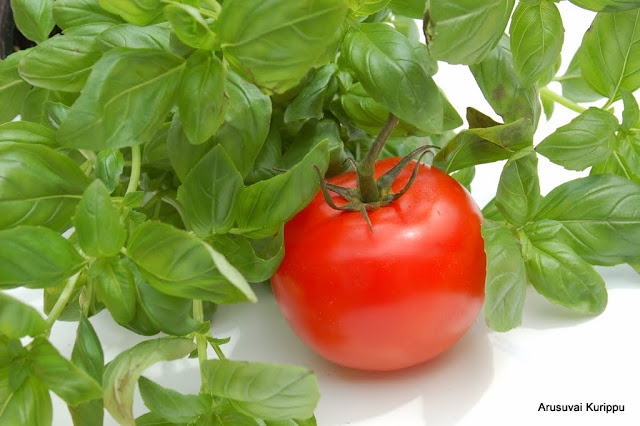
Tomatoes 4 big
Methi Leaves 2.5 cups
Green Peas 1 cup
Cashews 10
Cumin/Jeera 1 tsp
Chilli Powder 1/2 tsp
Coriander Powder 1 tsp
Cumin Powder 1/2 tsp
Garam Masala 1/2 tsp
Oil, butter and salt
Method of Preparation
1. Pluck all the leaves of Methi from the stem. Wash and keep ready. Some people soak in salt water and drain to avoid the bitter taste. We love that taste and I do not do anything to take that away from Methi
2. Heat some oil and 1 tbsp of butter in a pan. Add cashews. When it starts to brown, add the cumin.
3. When is sizzles add the onions and garlic. Saute till it browns.
4. Add the tomatoes. Saute till it is cooked well.
5. Let it cool and then grind into a fine paste.
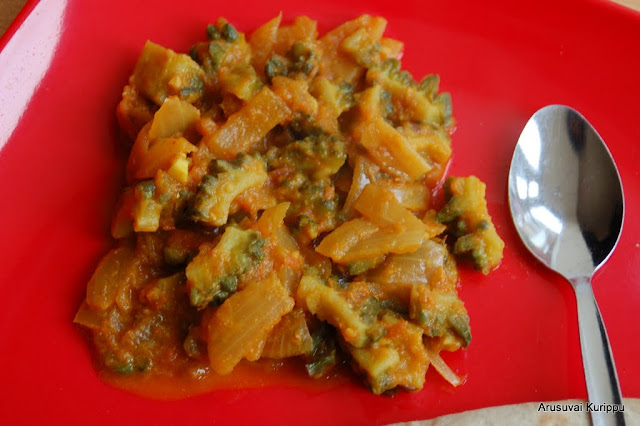
6. In the same pan, add 1 tsp of oil and add the methi leaves. Saute for a couple of minutes.
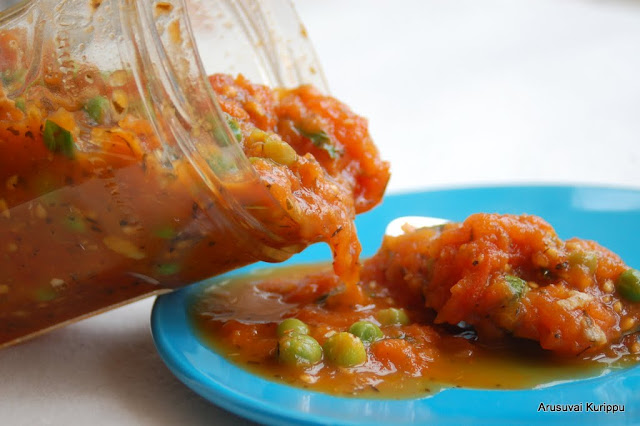
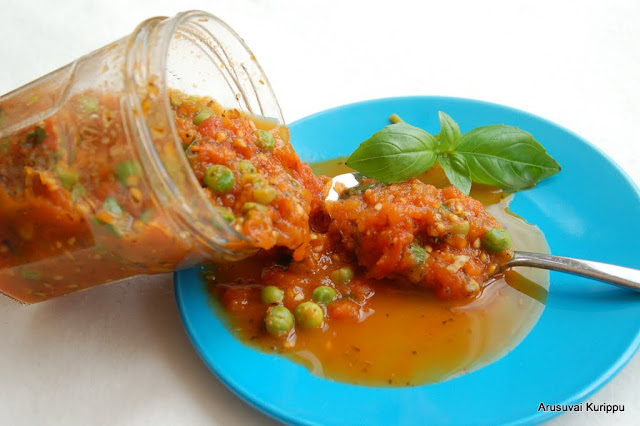
7. Add the ground paste and green peas. I used frozen peas. I microwaved the peas before adding to the curry.
8. Simmer for a few minutes. Add a little water if required. I added 1/4 cup of water. You can add milk or cream as well.
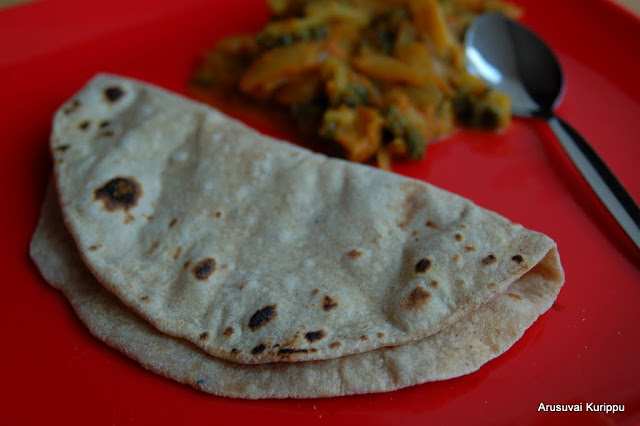
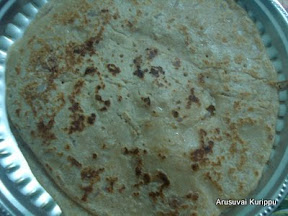
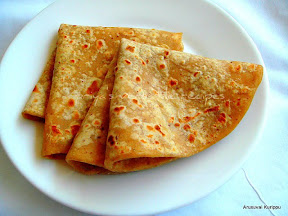
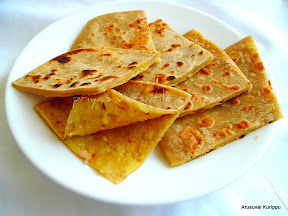
Serve with Rice or Roti.
Check out other Methi dishes in my blog. Guess I do love Methi :-) Hope you all will enjoy these!!
Methi Malai Mutter
Methi Aloo Banarasi
Aloo Methi Tuk
Methi Roti
Methi Khakra
Linking this to EP - Herbs and spices - Fenugreek Leaves and Green Chilli Event by Julie, hosted by Kaveri

I will make a dish with Methi every week. But I can't for 2 reasons. One, I do not get it unless I go to the Indian store :-) Other reason is the time required to pluck the leaves from the stem. I hate that step. I was working on my bunches today and half way thru I realized I had been putting the stem in my bowl and plucked leaves on the kitchen counter. I was less sad about loosing the plucked leaves and more because I have to clean my bowl of all the stems...
Anyways, all that was worth it as we enjoyed an amazing dish today. We enjoyed it with some Jeera Pulao.
Ingredients
Onion 3
Garlic 5 pods
Tomatoes 4 big
Methi Leaves 2.5 cups
Green Peas 1 cup
Cashews 10
Cumin/Jeera 1 tsp
Chilli Powder 1/2 tsp
Coriander Powder 1 tsp
Cumin Powder 1/2 tsp
Garam Masala 1/2 tsp
Oil, butter and salt
Method of Preparation
1. Pluck all the leaves of Methi from the stem. Wash and keep ready. Some people soak in salt water and drain to avoid the bitter taste. We love that taste and I do not do anything to take that away from Methi
2. Heat some oil and 1 tbsp of butter in a pan. Add cashews. When it starts to brown, add the cumin.
3. When is sizzles add the onions and garlic. Saute till it browns.
4. Add the tomatoes. Saute till it is cooked well.
5. Let it cool and then grind into a fine paste.
6. In the same pan, add 1 tsp of oil and add the methi leaves. Saute for a couple of minutes.
7. Add the ground paste and green peas. I used frozen peas. I microwaved the peas before adding to the curry.
8. Simmer for a few minutes. Add a little water if required. I added 1/4 cup of water. You can add milk or cream as well.
Serve with Rice or Roti.
Check out other Methi dishes in my blog. Guess I do love Methi :-) Hope you all will enjoy these!!
Methi Malai Mutter
Methi Aloo Banarasi
Aloo Methi Tuk
Methi Roti
Methi Khakra
Linking this to EP - Herbs and spices - Fenugreek Leaves and Green Chilli Event by Julie, hosted by Kaveri