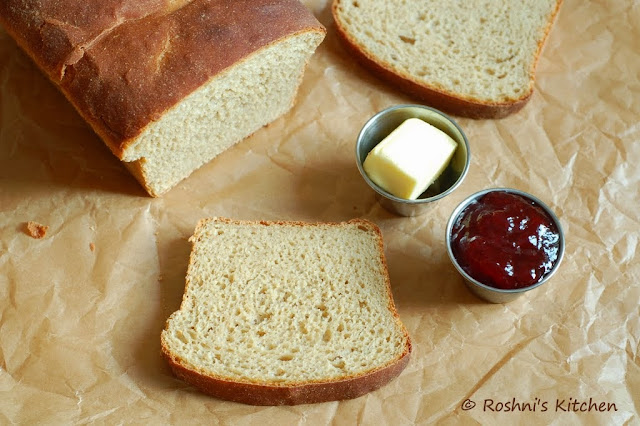
Sliced Bread is consumed every week at our home. I have never made my own bread. I love my white bread. But with the buzz around Whole Wheat Stuff, we usually by a 50-50 bread. A good compromise I feel.
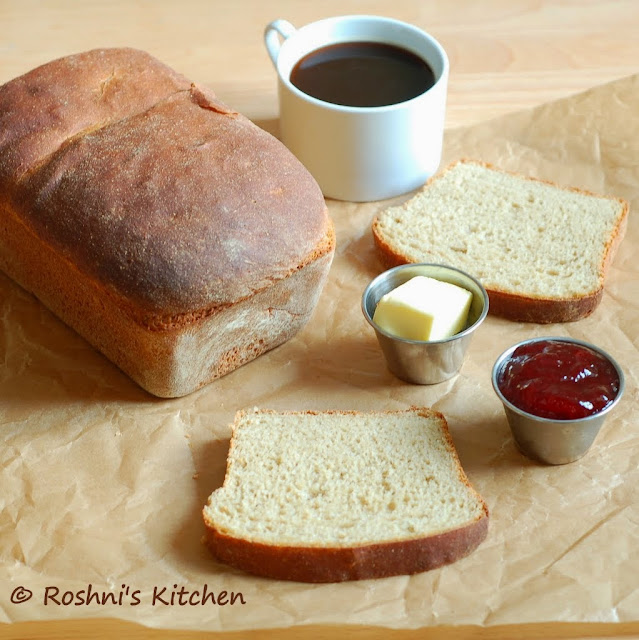
As you might know, a group of bloggers have been baking breads together (we knead to bake) since the beginning of this year lead by Aparna. This month she sent us a Whole Wheat Bread recipe to try our hands on. A few bakers had mishaps in their bread and so I was not sure if my whole wheat is going to rise. But I was amazed at how well it rose. The one thing I did wrong was to try and shape the bread many times. Thankfully it did not spoil my bread much. Do check out the video link below to see the technique.
About the flour. I did not buy a whole wheat flour specifically from the market. We use Whole Wheat Flour (Indian Brand) almost daily for making our Chapati/Roti. So I just used that. I have used Pillsbury brand Whole Wheat Atta.
Video on how to shape bread here
Original Recipe PeterReinhart
Adapted by Aparna
Ingredients:
For
The Soaker:
Whole Wheat Flour
Salt 1/2 tsp
Water at room temperature 3/4 - 1 cup
Vinegar 1 tbsp
For
The Biga/ Sponge:
Whole Wheat Flour
Instant Yeast 1/4 tsp
Milk 3/4 cup
Vinegar 1 tbsp
For
The Final Dough:
All of the Soaker
All of the Biga/ Sponge
Salt 1/2 tsp
Whole Wheat Flour
Instant Yeast 2 tsp
Oil 2 tbsp
Honey 2 tbsp
Method of Preparation
Soaker
Mix all of the Soaker ingredients
together in a bowl until all of the flour is hydrated. Start using 3/4 cup and add till 1 cup if you need. Your Soaker should be
somewhat like reasonably firm bread dough in consistency. Cover the bowl
loosely with plastic wrap and leave at room temperature for 12-24 hours.
Biga/ Sponge
Mix all of the Biga/ Sponge in a bowl and knead together well till a soft ball forms. You might need more than the originally suggested 3/4 cup of liquid. Cover and refrigerate for at least 8 hours or overnight. This will keep for up to 3 days.
Final Bake
Mix all of the Biga/ Sponge in a bowl and knead together well till a soft ball forms. You might need more than the originally suggested 3/4 cup of liquid. Cover and refrigerate for at least 8 hours or overnight. This will keep for up to 3 days.
Final Bake
1. Two hours before you plan to mix your dough
for the bread, remove the Biga from the refrigerator and allow it to come to
room temperature. You might find your Biga rising a little during this time.
2. Divide the Biga and Soaker into small pieces (about 12 pieces each) using a sharp knife or scraper and put them in the food processor bowl (or stand mixer). You can knead this by hand too, but the dough will be tacky and a little difficult to manage. Do not be tempted to add more flour.
3. Add the remaining ingredients for the dough, except the 1/3 cup flour) and knead for about 3 minutes.
4. Let it rest for 5 minutes, then add as much flour as needed (if necessary) to the dough and knead for another 3-4 minutes. Your dough should now come away from the sides of the bowl but still be a little sticky but somewhat manageable. It’s really important to not add too much extra flour during this step.
5. Place the dough in a lightly oiled bowl and let rise until almost doubled (about 1 1/2 hours). Then turn out the dough onto a lightly floured surface and pat the dough out into a rectangle with a width that just a bit less than your loaf tin. See that you do not tear the dough. Roll it up and shape into a loaf.
6. Place your loaf in a greased and floured loaf tin (I used a 9” by 4” loaf tin) and let it rise until it is just higher than your loaf tin.
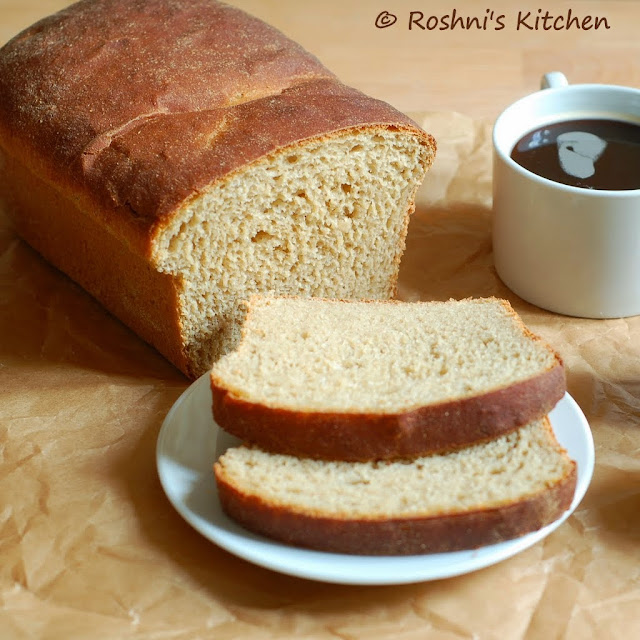
7. Bake the loaf at 180C (350F) for about 40 to 45 minutes until the top is a nice deep brown colour and the loaf sounds hollow when tapped.
8. Let the loaf cool completely (at least for about 2 hours), before slicing it. Refrigerate the loaf if not consuming immediately.
2. Divide the Biga and Soaker into small pieces (about 12 pieces each) using a sharp knife or scraper and put them in the food processor bowl (or stand mixer). You can knead this by hand too, but the dough will be tacky and a little difficult to manage. Do not be tempted to add more flour.
3. Add the remaining ingredients for the dough, except the 1/3 cup flour) and knead for about 3 minutes.
4. Let it rest for 5 minutes, then add as much flour as needed (if necessary) to the dough and knead for another 3-4 minutes. Your dough should now come away from the sides of the bowl but still be a little sticky but somewhat manageable. It’s really important to not add too much extra flour during this step.
5. Place the dough in a lightly oiled bowl and let rise until almost doubled (about 1 1/2 hours). Then turn out the dough onto a lightly floured surface and pat the dough out into a rectangle with a width that just a bit less than your loaf tin. See that you do not tear the dough. Roll it up and shape into a loaf.
6. Place your loaf in a greased and floured loaf tin (I used a 9” by 4” loaf tin) and let it rise until it is just higher than your loaf tin.
7. Bake the loaf at 180C (350F) for about 40 to 45 minutes until the top is a nice deep brown colour and the loaf sounds hollow when tapped.
8. Let the loaf cool completely (at least for about 2 hours), before slicing it. Refrigerate the loaf if not consuming immediately.
perfect n gr8 clicks...
ReplyDelete